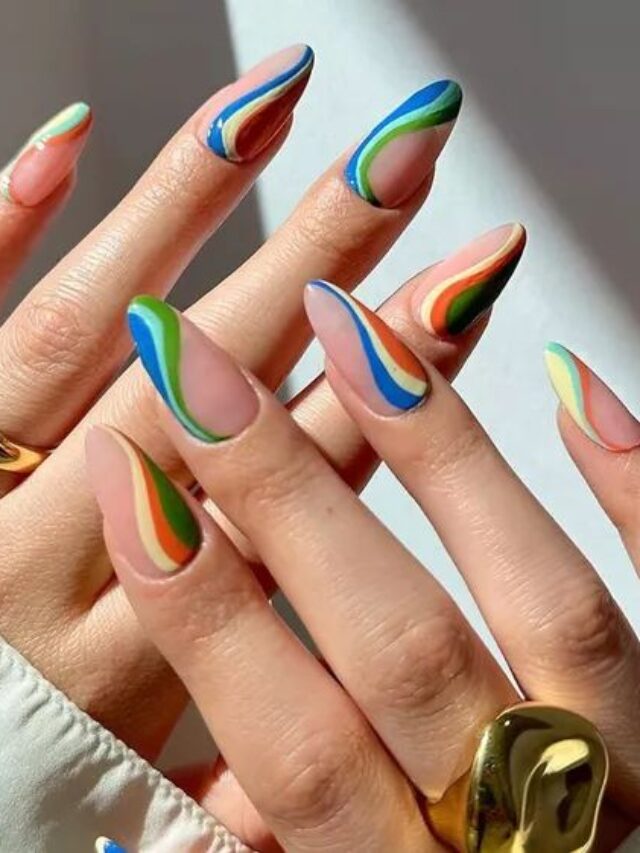
20 Swirl Nail Designs That Leave Us Spinning
When it comes to nail art, I’m always on the lookout for something unique and captivating. While there are countless easy nail designs that you can do at home to spruce up your manicure, sometimes you crave a more intricate and eye-catching style. This is where the fascinating world of swirl nail designs comes into play.
Swirl nails can be minimalist and DIY-friendly, but some of the more complex variations demand the precision of a professional manicurist or specialized nail art tools like fine-lining nail art brushes and dotting pens.
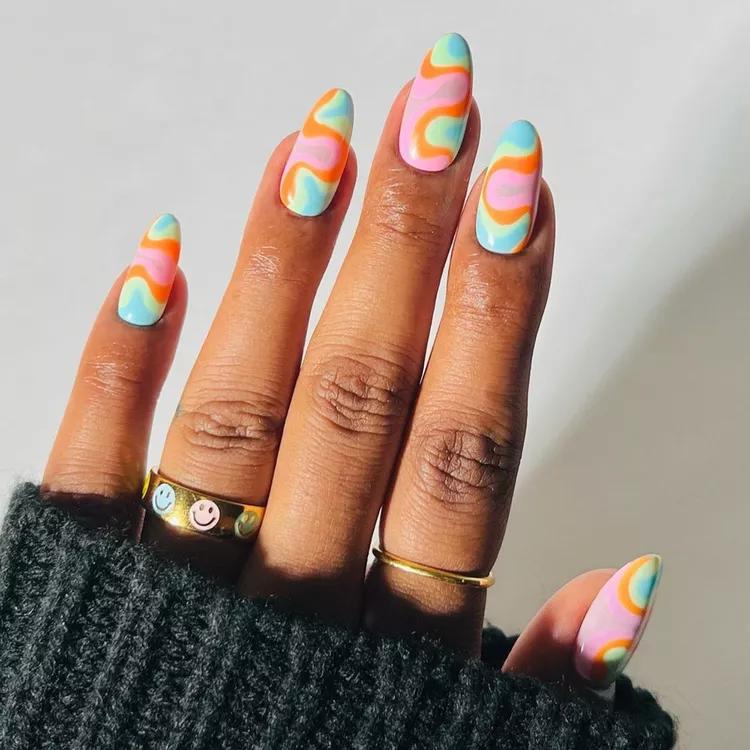
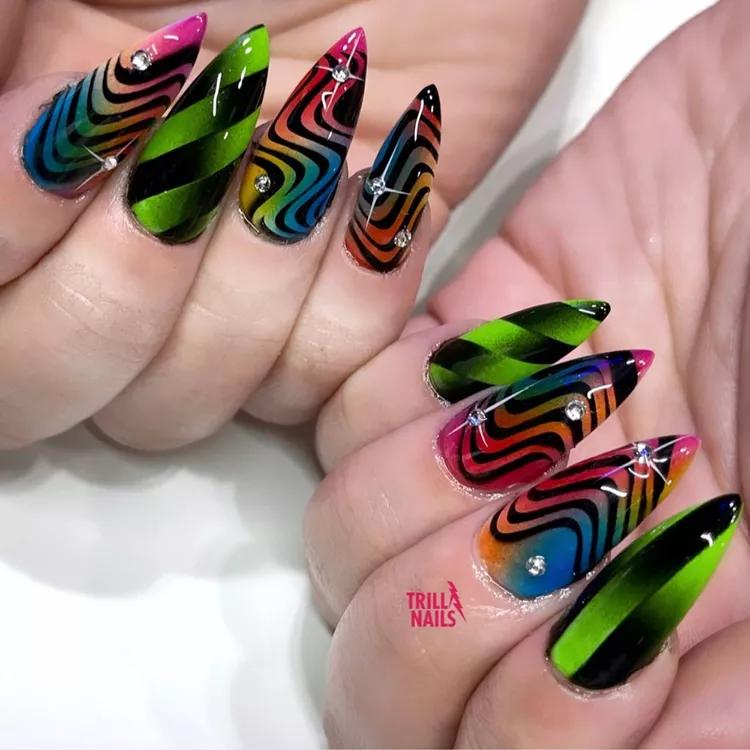
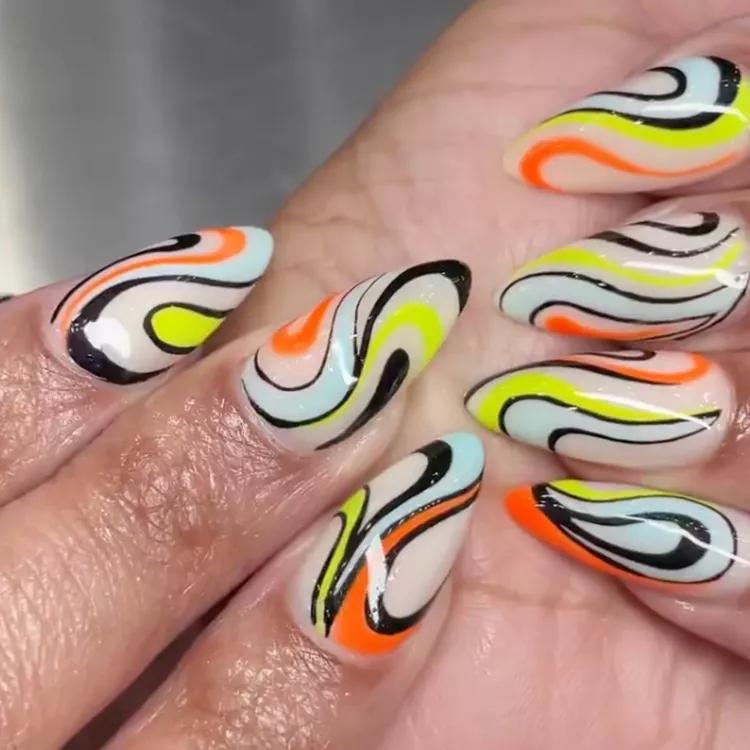
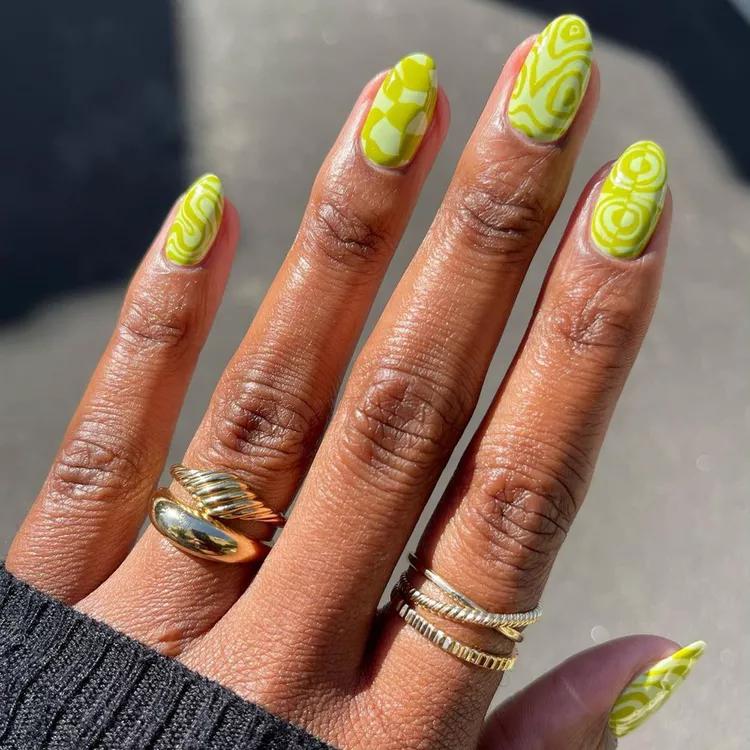
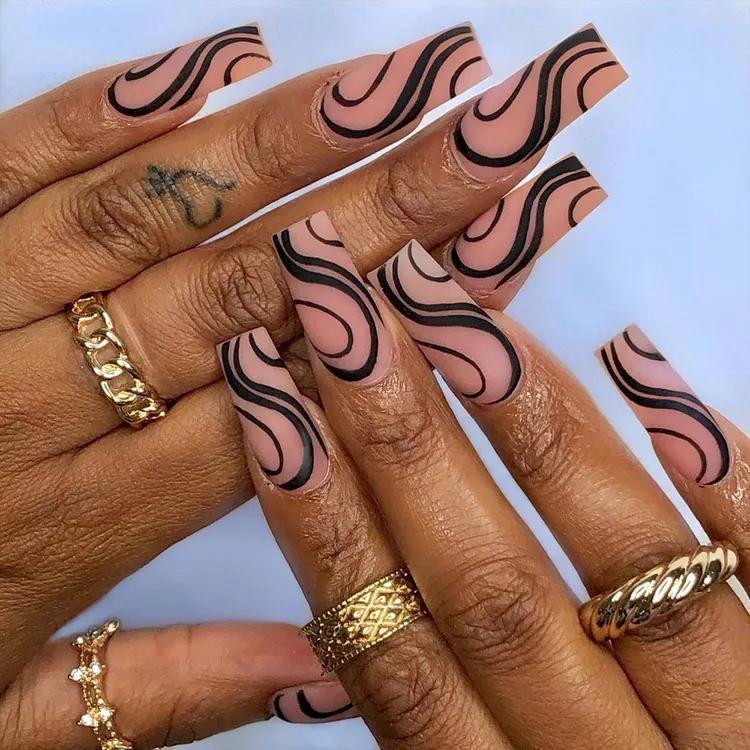
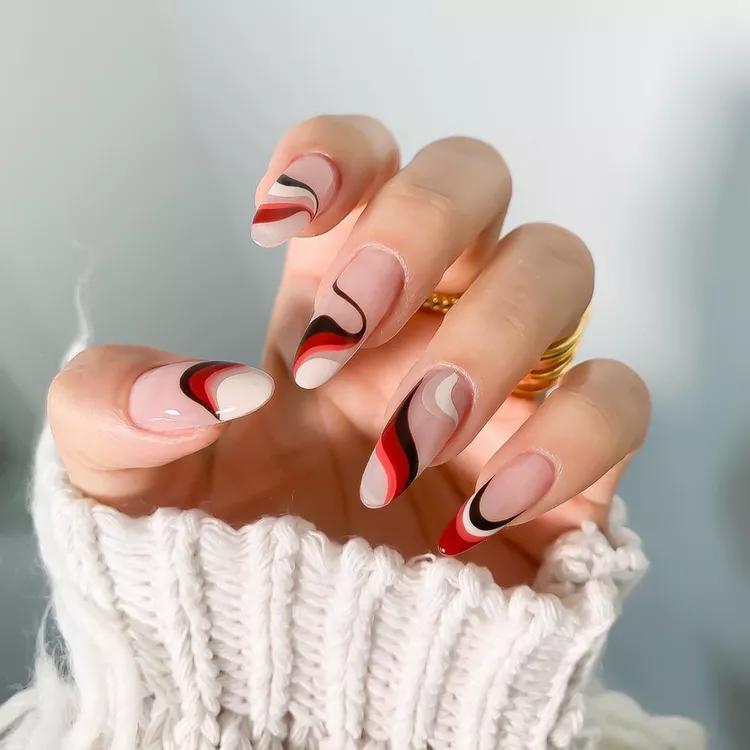
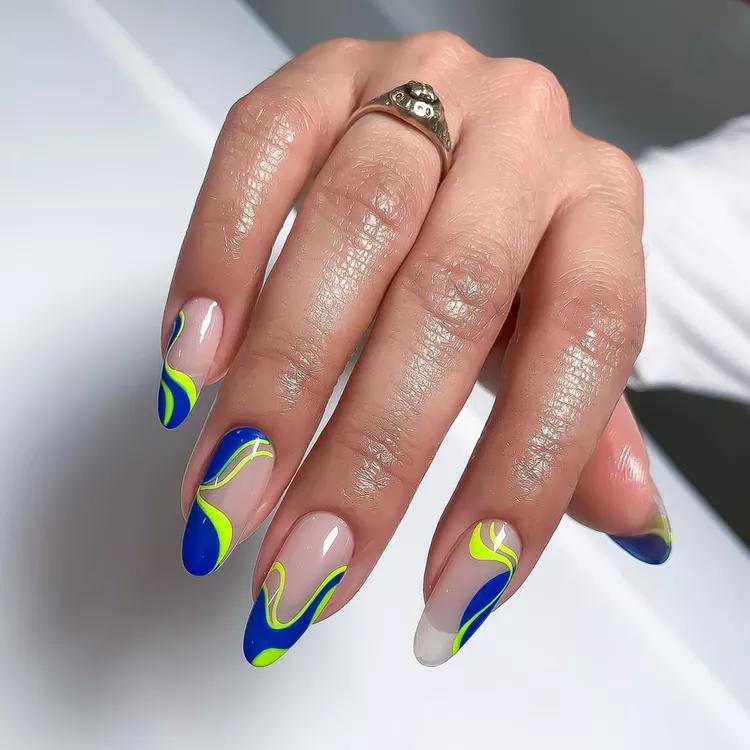
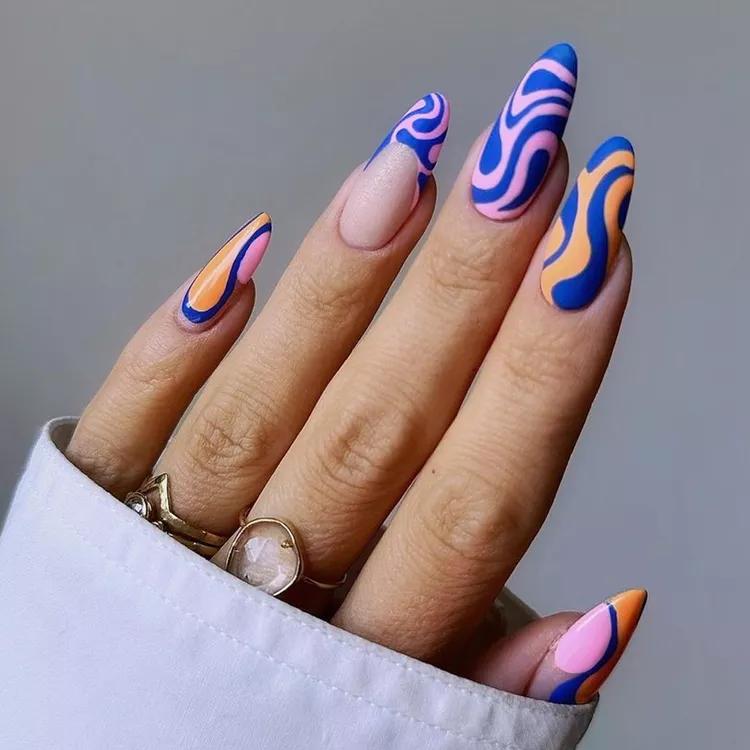
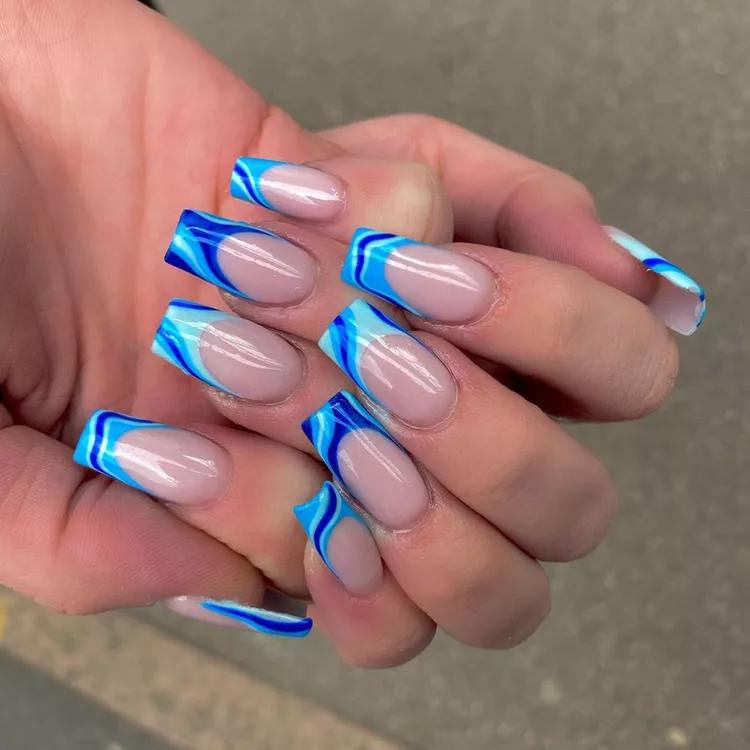
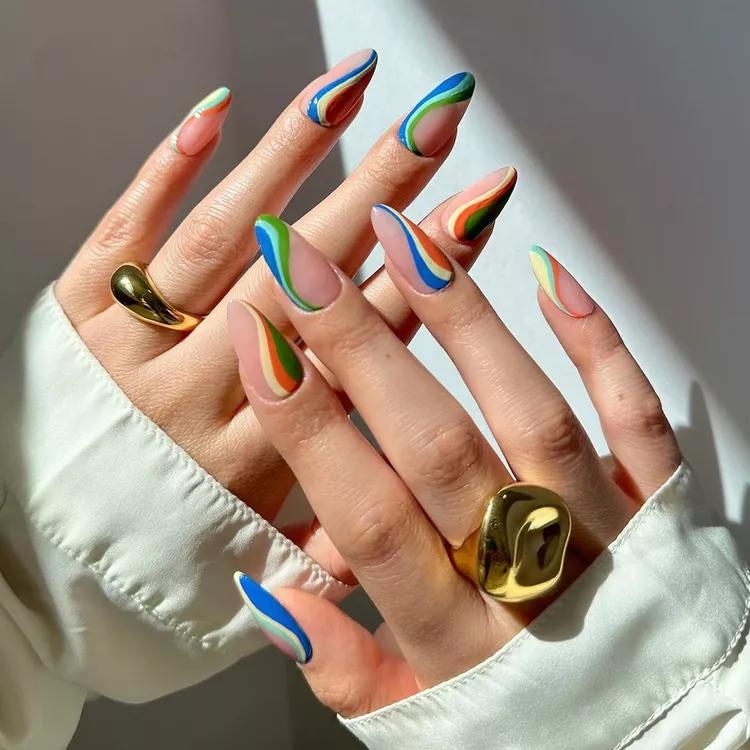
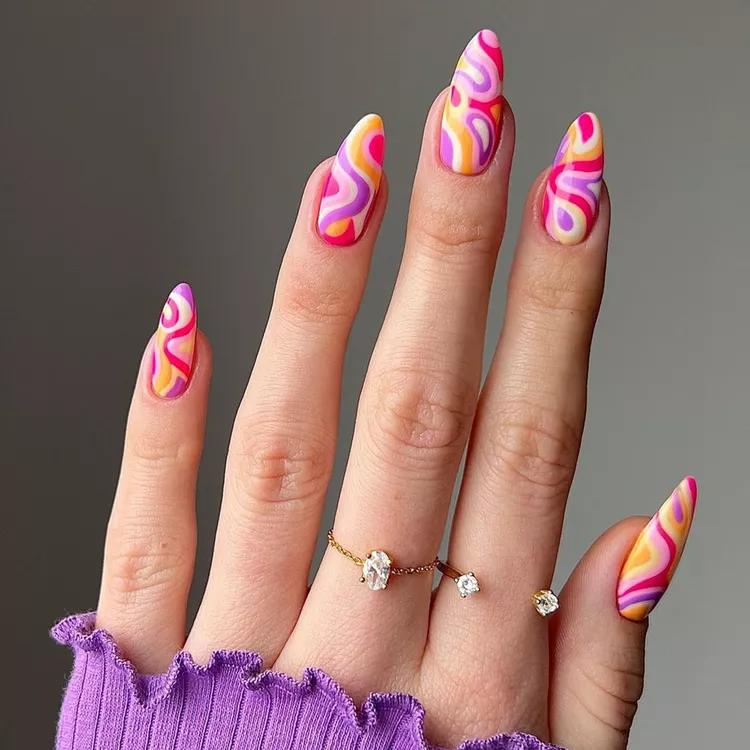
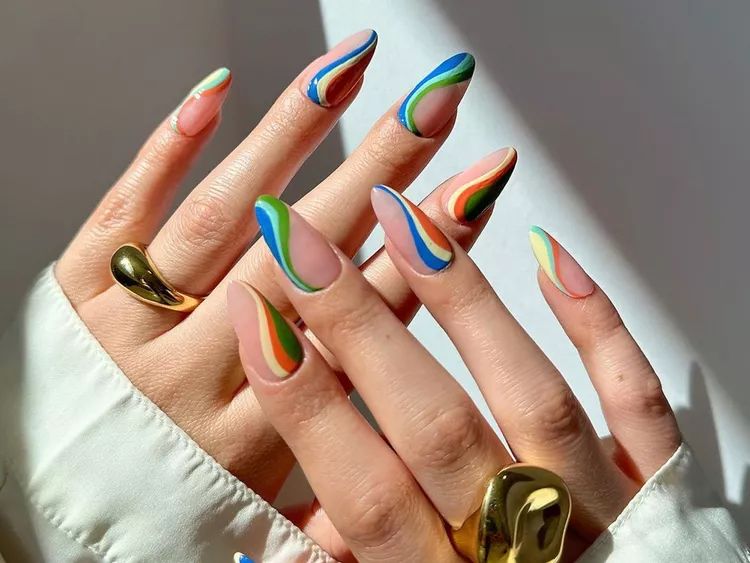
Despite the extra effort, the allure of swirl nails adds a touch of sophistication to any outfit. If you’re ready to explore the magic of swirl nails, you’re in for a treat. In this article, I’ll introduce you to over a dozen stunning swirl nail art ideas that will inspire your next manicure.
How can I create swirl nail designs at home?
Creating swirl nail designs at home is possible with the right tools and a steady hand. You’ll need nail art brushes and dotting tools for precision. Start with a base color and use contrasting colors for the swirls. Practice on a nail wheel or fake nails before attempting it on your own nails.
What are some popular color combinations for swirl nails?
Popular color combinations for swirl nails include pastels, neons, and complementary colors. Experiment with your favorite shades to create a unique and eye-catching design.
Can I use regular nail polish for swirl nail art?
Yes, you can use regular nail polish for swirl nail art. However, it’s easier to work with specialized nail art brushes and polishes designed for nail art, as they offer better control and precision.
How do I make the swirl lines thin and crisp?
To make the swirl lines thin and crisp, use a fine-lining nail art brush. Practice steady hand movements and take your time to ensure precision. Additionally, dipping your brush in nail polish remover can help correct any mistakes.
Are swirl nail designs suitable for short nails?
Yes, swirl nail designs can be adapted to suit short nails. You can create smaller swirl patterns or focus on specific areas of your nails to make the design work for shorter lengths.
What’s the secret to perfecting the ombré effect in swirl nails?
Achieving a flawless ombré effect in swirl nails involves blending two or more colors seamlessly. Use a makeup sponge or a sponge-tip applicator to dab and blend the colors at the meeting point. It may take some practice to get the gradient just right.
How long does it take for swirl nail designs to dry?
The drying time for swirl nail designs depends on the type of nail polish you use. Regular nail polish can take 30 minutes to an hour to dry completely, while gel nail polishes require curing under a UV or LED lamp and typically dry instantly.
Can I incorporate nail art stickers or decals in swirl nail designs?
Yes, you can enhance your swirl nail designs with nail art stickers or decals. Apply them over the base color and then create swirls around or on top of them for a dynamic and layered effect.
What’s the best way to maintain swirl nail designs and prevent chipping?
To maintain swirl nail designs and prevent chipping, apply a high-quality top coat to seal the design and add durability. Be gentle with your nails, wear gloves for chores, and avoid using them as tools to help your nail art last longer.
Where can I find inspiration for new swirl nail designs?
You can find inspiration for new swirl nail designs on social media platforms like Instagram and Pinterest, in nail art magazines, and through tutorials on YouTube. Don’t hesitate to experiment with your own ideas and color combinations to create unique swirl designs.
Remember that nail art, including swirl designs, takes practice. Don't be discouraged if your first attempts don't turn out perfectly. With time and patience, you'll improve your skills and create stunning swirl nail designs.

